Next step is to write our own script in Nunit from scratch. To do this
Create a new project ‘NUnitTests’ in VS C# and select the project type as ‘Class library’
Add reference to Nunit.Framework.dll in the Project
Rename the default class file (Class1.cs) to SimpleAssertTest.cs
Copy the below code in the file and compile it.
using System;
using NUnit.Framework;
namespace NUnitTest1
{
[TestFixture]
public class SimpleAssertTest
{
[Test]
public void TestTrue()
{
Assert.IsTrue(true);
}
[Test]
public void TestFault()
{
Assert.IsTrue(false);
}
[Test]
public void TestEqual()
{
Assert.AreEqual(2, 2);
}
[Test]
public void TestNotEqual()
{
Assert.AreEqual(2, 3);
}
}
}
The code will compile and depending on your VS project setup will generate the dlls in /debug or /release folder.
Start Nunit and open a project
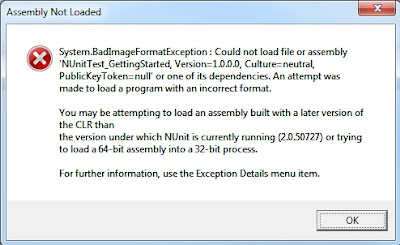
Browse to the NUnitTests.dll and the tests will open in the nunit workspace
Run the tests
